Have you ever wondered how some images and videos achieve that captivating, professional sheen? Overlays for editing are truly a game changer, transforming ordinary media into extraordinary visual experiences. These digital assets, which you layer over your photos or videos, introduce everything from subtle textures and light leaks to dramatic weather effects or artistic filters. Understanding and mastering the use of overlays can significantly elevate your content's aesthetic appeal and storytelling power. We will explore various types of overlays, how they are applied across different editing software, and provide essential tips to integrate them seamlessly into your projects. This comprehensive guide serves as your go-to resource for leveraging overlays to achieve trending, high-impact visuals. Discover how these versatile tools can help you craft unique atmospheres and professional-grade finishes, making your work stand out in a crowded digital landscape, enhancing engagement and making your creative vision truly pop.
So, you’re scrolling through social media, and you see all these stunning photos and videos, right? And honestly, you’ve probably asked yourself, “How do they get that cool vibe or unique look?” Well, a lot of the time, the secret sauce involves overlays for editing. It’s not just about filters anymore; overlays add an extra layer of magic, literally, to your visuals.
Think about it. You’ve taken a decent photo, but it just feels… flat. Maybe you want a soft, dreamy glow, or some realistic rain, or even a vintage paper texture. That’s exactly what an overlay does. It's a separate image or video file that you layer on top of your existing media, and then you blend it in using different modes and opacities in your editing software. It’s like adding another dimension to your creative work.
The Essential Types of Overlays Every Editor Should Know
Honestly, the variety of overlays out there is truly incredible. You’ve got options for every mood and style you can possibly imagine. It really depends on the specific effect you’re hoping to achieve in your final piece.
Light Leaks and Lens Flares
These are super popular for adding a retro or cinematic feel. They mimic imperfections from old cameras, creating beautiful, often warm, light effects that spill across your image. It’s a fantastic way to make a photo feel more organic and less sterile.
I’ve tried these myself, and they can instantly add warmth and depth, especially to outdoor portraits or landscape shots. They really make your images feel sun-kissed.
Texture Overlays
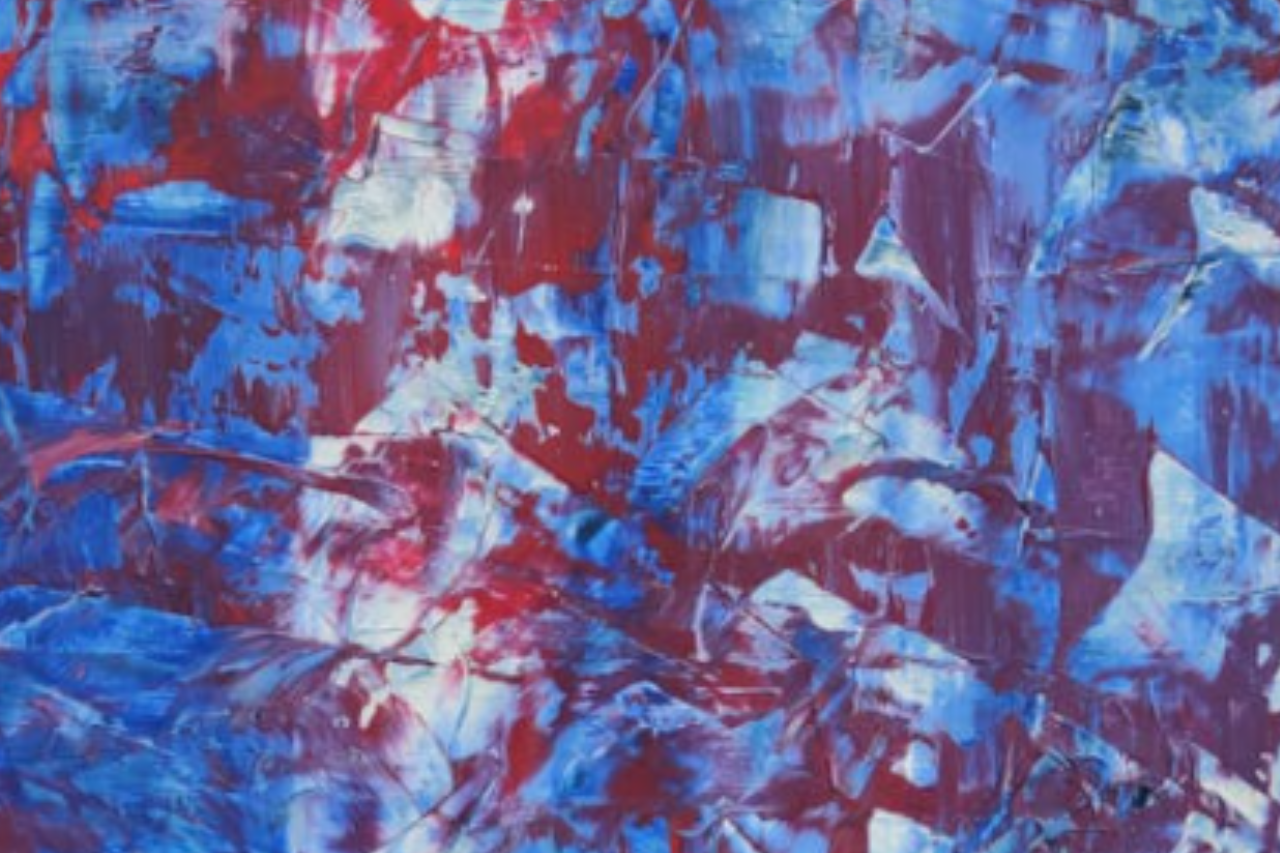
Texture overlays are amazing for adding tactile quality to your visuals. Think about old paper, grunge, fabric, or even subtle dust and scratches. These elements can significantly increase the visual interest and complexity of your work.
Using a canvas or concrete texture can give a really artistic, almost painterly, quality to a modern photograph. It’s all about enhancing the mood you want to convey.
Weather and Nature Effects
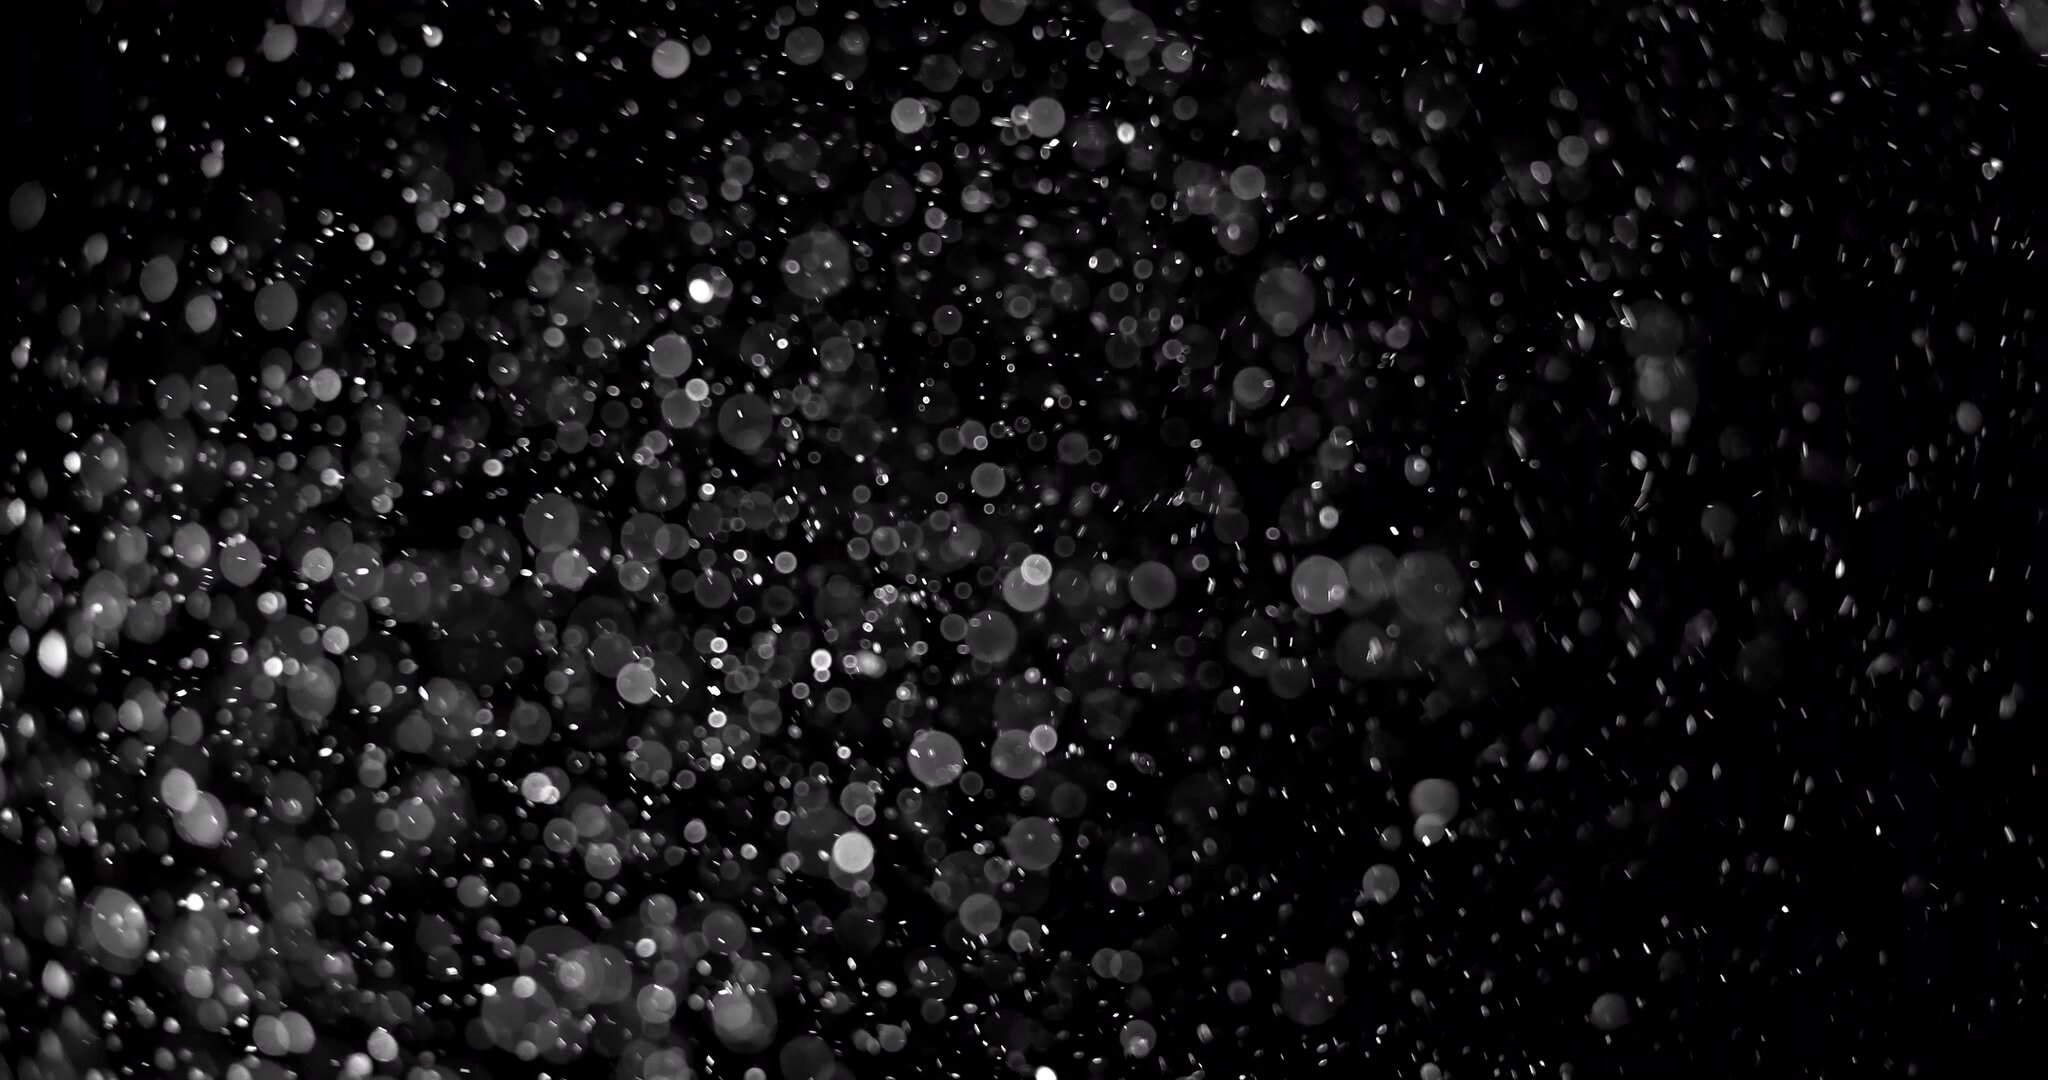
Want to simulate a rainy day, a snowy scene, or even falling leaves? There are overlays specifically designed for these exact purposes. They can dramatically alter the atmosphere of your photos or videos in a very believable way. It’s quite impressive.
You can even find smoke or fog overlays that add a mysterious or dramatic touch without needing special equipment during your actual shoot. This saves a lot of time and effort.
Abstract and Geometric Overlays
For something a bit more modern or artistic, abstract overlays can introduce shapes, lines, or color gradients. These are perfect for creating unique backgrounds or adding a contemporary flair to your designs and digital art projects. They are incredibly versatile.
These overlays are often used in graphic design to add visual intrigue or to break up a flat composition. They certainly make your artwork stand out from the crowd.
How to Seamlessly Integrate Overlays into Your Workflow
Using overlays isn't just about dragging and dropping a file; it's more nuanced than that. You've got to know a few tricks to make them look really natural. Otherwise, it just looks tacked on, and that’s definitely not the goal you're trying to achieve.
Choose the Right Blending Mode: This is probably the most crucial step. Software like Photoshop, GIMP, and even many video editors offer various blending modes (Screen, Multiply, Overlay, Soft Light, etc.) that determine how your overlay interacts with the layer beneath it. Experimentation is key to finding the perfect blend.
Adjust Opacity: After selecting a blending mode, controlling the opacity of your overlay is essential. Often, a subtle touch works best; you don't want the overlay to overpower your main subject. A lower opacity often creates a more natural, integrated look.
Masking and Erasing: Sometimes, an overlay might cover parts of your image where you don't want it. Using layer masks or an eraser tool allows you to selectively remove the overlay from specific areas, ensuring your subject remains clear and focused. It helps maintain the desired composition.
Color and Tone Adjustments: To ensure the overlay truly blends, you might need to adjust its color, contrast, or saturation to match your base image. You can use adjustment layers directly on the overlay or as a clipping mask, making the overlay perfectly cohesive.
Non-Destructive Editing: Always try to apply overlays as separate layers and use masks. This way, you can always go back and make adjustments without permanently altering your original image. It’s a lifesaver, honestly, when you want to experiment.
Honestly, once you start playing around with overlays, you’ll see the endless possibilities. It’s a creative tool that allows you to express your vision in so many exciting ways, and I’ve seen some truly amazing transformations. What exactly are you trying to achieve with your editing?
Enhance visuals with light leaks, textures, weather effects, and artistic filters. Overlays boost aesthetic appeal and storytelling. Learn application techniques across various editing software. Achieve professional-grade finishes and unique atmospheres. Critical for trending, high-impact digital content.
20 Free Overlays For Editing Pack Of Popular Video Effects OVERLAYS AdobeStock 484867862 1536x864 20 Free Overlays For Editing Pack Of Popular Video Effects OVERLAYS AdobeStock 507935348 1180x664 Overlay Pack For Editing V4 Overlay For Edits Alight Motion Overlay
Top 100 Trending Overlay For Edit Best Overlays For Editing The 11 Most Popular Video Overlays For Editing Content Creators To Watch 2026 1 20 Free Overlays For Editing Pack Of Popular Video Effects OVERLAYS AdobeStock 481164647 Top 10 Best Overlays For Editing Overlay Free Download 100 Royalty
Precision Overlays At Scale Updated 2026 Recipes For Zoho PDF Editor S Untitled 1280 X 853 Px 5 Overlays For Editing Ultimate Overlay Bundle YouTube 20 Free Overlays For Editing Pack Of Popular Video Effects OVERLAYS AdobeStock 423950335 870x489 OVERLAY PACK 1 65 OVERLAYS FOR EDITING YouTube
FREE POPULAR OVERLAYS FOR EDITING CAPCUT YouTube Free Overlays How To Make Edits Free Overlays Lighting Overlays 10 Helpful Overlays For Editing YouTube Hqdefault Quality Overlay For Edits
BEST Film Grain Overlays For Video 2026 FilterGrade Best FIlm Grain Overlays For Video FilterGrade 2026 Overlays For Editing YouTube 20 Free Overlays For Editing Pack Of Popular Video Effects YouTube Overlays For Edits Its G Edits Edit Editing Overlay Tutorial
Premium Photo 3D Rendering 2026 Text With Screen Effects Of 3d Rendering 2026 Text With Screen Effects Glitches 232104 13279 Top 15 Overlays Overlay For Edit Free Download Alight Motion Editing Overlays Bundle 1500 High Quality Overlays Glitter Overlay Preview 768x480 1 New Overlays For Your Edits HD Version In Comments Below YouTube
Top 15 Overlays Overlay For Edit Free Download Alight Motion Top 10 Overlays For Edits Boost Your Editing Overlays For Editing 20 Free Overlays For Editing Pack Of Popular Video Effects OVERLAYS AdobeStock 260503204 1536x864 The 11 Most Popular Video Overlays For Editing 8.14 Best Overlays 6.10A 2
Superimpose Edits 20 Popular Overlays For Editing MEGA LINK YouTube Editing Overlays Bundle 1500 High Quality Overlays Cloud Overlays Preview 768x480 1 Premium Photo 3D Rendering 2026 Text With Screen Effects Of 3d Rendering 2026 Text With Screen Effects Glitches 232104 13665
50 Overlays For Edits Editing All Styles YouTube 20 Free Overlays For Editing Pack Of Popular Video Effects OVERLAYS AdobeStock 497260568 1024x576 Free Overlays Pack For Editing Full HD YouTube Hqdefault OVERLAY PACK 35 Overlay Pack For Editing Overlay Pack For